Why Your Photos Need Strategic Blur (And When They Don't)
Ever wonder why you should add blur to photo backgrounds? It’s not just about making them look "professional." The real power is psychological—blur guides your viewer’s eye exactly where you want it to go. Think of a portrait with a soft, out-of-focus background. Your attention is immediately drawn to the subject’s expression, creating a more powerful connection.
Product photographers use this as their secret weapon, blurring distracting elements to make a single item pop off the screen. This idea isn't new; early photographers used long exposures for motion blur, transforming static scenes into dynamic stories. You can learn more about the long history of photography and its foundational techniques to see how these concepts grew over time.
When to Blur
Adding a strategic blur can turn a simple snapshot into something much more compelling. It's less about aesthetics and more about telling a better story. Here are a few scenarios where blur becomes an essential tool:
- Create Subject Separation: Make your main subject the star, especially in a busy setting. This is fantastic for street or event photos where the background is chaotic.
- Convey a Sense of Motion: A slight motion blur on a passing car or a spinning dancer injects energy that a static image just can't match.
- Hide Imperfections or Distractions: Need to hide a messy room, a license plate, or some ugly text in the background? A quick, targeted blur is an elegant fix.
- Simulate Depth of Field: You can mimic the beautiful, creamy bokeh effect of an expensive camera lens without dropping thousands of dollars on new gear.
When to Avoid Blur
However, blur isn't a one-size-fits-all solution. Using it improperly can weaken an otherwise great shot. It's best to keep things sharp in these situations:
- Landscape Photography: With most landscapes, the goal is to show off the vastness and intricate detail of the entire scene. Blurring the background would completely defeat the purpose.
- Architectural Shots: Viewers look for crisp, clean lines in photos of buildings. A blurry background can make the shot look accidental or sloppy.
- When Context Is Key: If the background adds to the story—like a chef working in a bustling kitchen—blurring it out erases important information. While you can always add effects to photos for extra flair, make sure they support the story you're trying to tell.
Creating Portrait-Perfect Background Blur That Looks Natural
Forget those obvious smartphone portrait modes that make everyone look like a cardboard cutout. Let's talk about creating a background blur that actually fools people into thinking you used a high-end camera lens. The secret isn't just cranking up a blur slider; it’s about understanding how your eye naturally perceives depth and replicating that digitally. When you add blur to a photo, you're trying to simulate the beautiful depth of field that separates a subject from its surroundings, a technique professionals use constantly.
The Art of the Edge
The biggest giveaway of a digitally added blur is poor edge detection. That's the halo or fuzzy outline you see around a person’s hair or shoulders. A convincing effect requires clean, precise edges. Modern tools like AI Media Studio use advanced algorithms to automatically identify the subject, but sometimes you need to step in for manual refinement. This is especially true for tricky subjects:
- Complex Hair: Curls, wisps, and flyaway hairs are a common challenge. Zoom in and use a soft-edged brush to carefully mask these areas.
- Translucent Objects: Items like glasses or a sheer scarf require a lighter touch. Instead of fully excluding them from the blur, you might apply a much weaker blur effect to maintain realism.
- Busy Backgrounds: When the background has elements close to your subject (like leaves or a fence), the tool might struggle to differentiate them. Manually refining the mask is crucial here.
Achieving Natural Blur Intensity
A common mistake is applying a uniform, heavy blur across the entire background. Real camera lenses produce a "falloff" effect, where the blur becomes progressively stronger the farther an object is from the camera. You can mimic this with a gradient blur, applying more intensity to the distant background and less to elements in the mid-ground.
The technology behind these effects has come a long way. Early digital blur was often harsh, but a major leap came with the introduction of Gaussian blur in the 1970s. This mathematical function simulates natural blurring by averaging pixel colors, creating a much smoother and more realistic look. You can read more about the evolution of photography technology that made this possible. It's this foundation that allows today's AI tools to create such convincing results.
To help you choose the right tool for the job, here's a quick comparison of some popular options for adding background blur.
Background Blur Tools Comparison
Comparison of popular tools for adding background blur, including features, ease of use, and cost
| Tool | Platform | Automation Level | Cost | Best For |
|---|---|---|---|---|
| AI Media Studio | Web-based | Fully Automated with Manual Overrides | Freemium, with paid plans | Quick, high-quality results for marketers and content creators. |
| Photoshop | Desktop | Manual (Subject Select) & Automated | Subscription | Professionals needing precise control and advanced layering. |
| Fotor | Web & Mobile | Fully Automated | Freemium, with paid plans | Casual users and social media content on the go. |
| Canva | Web & Mobile | Fully Automated | Freemium, with paid plans | Integrating blurred backgrounds into larger design projects. |
Each tool has its strengths. While professional software like Adobe Photoshop offers maximum control, web-based platforms like AI Media Studio provide an excellent balance of speed, quality, and user-friendliness for everyday creative tasks.
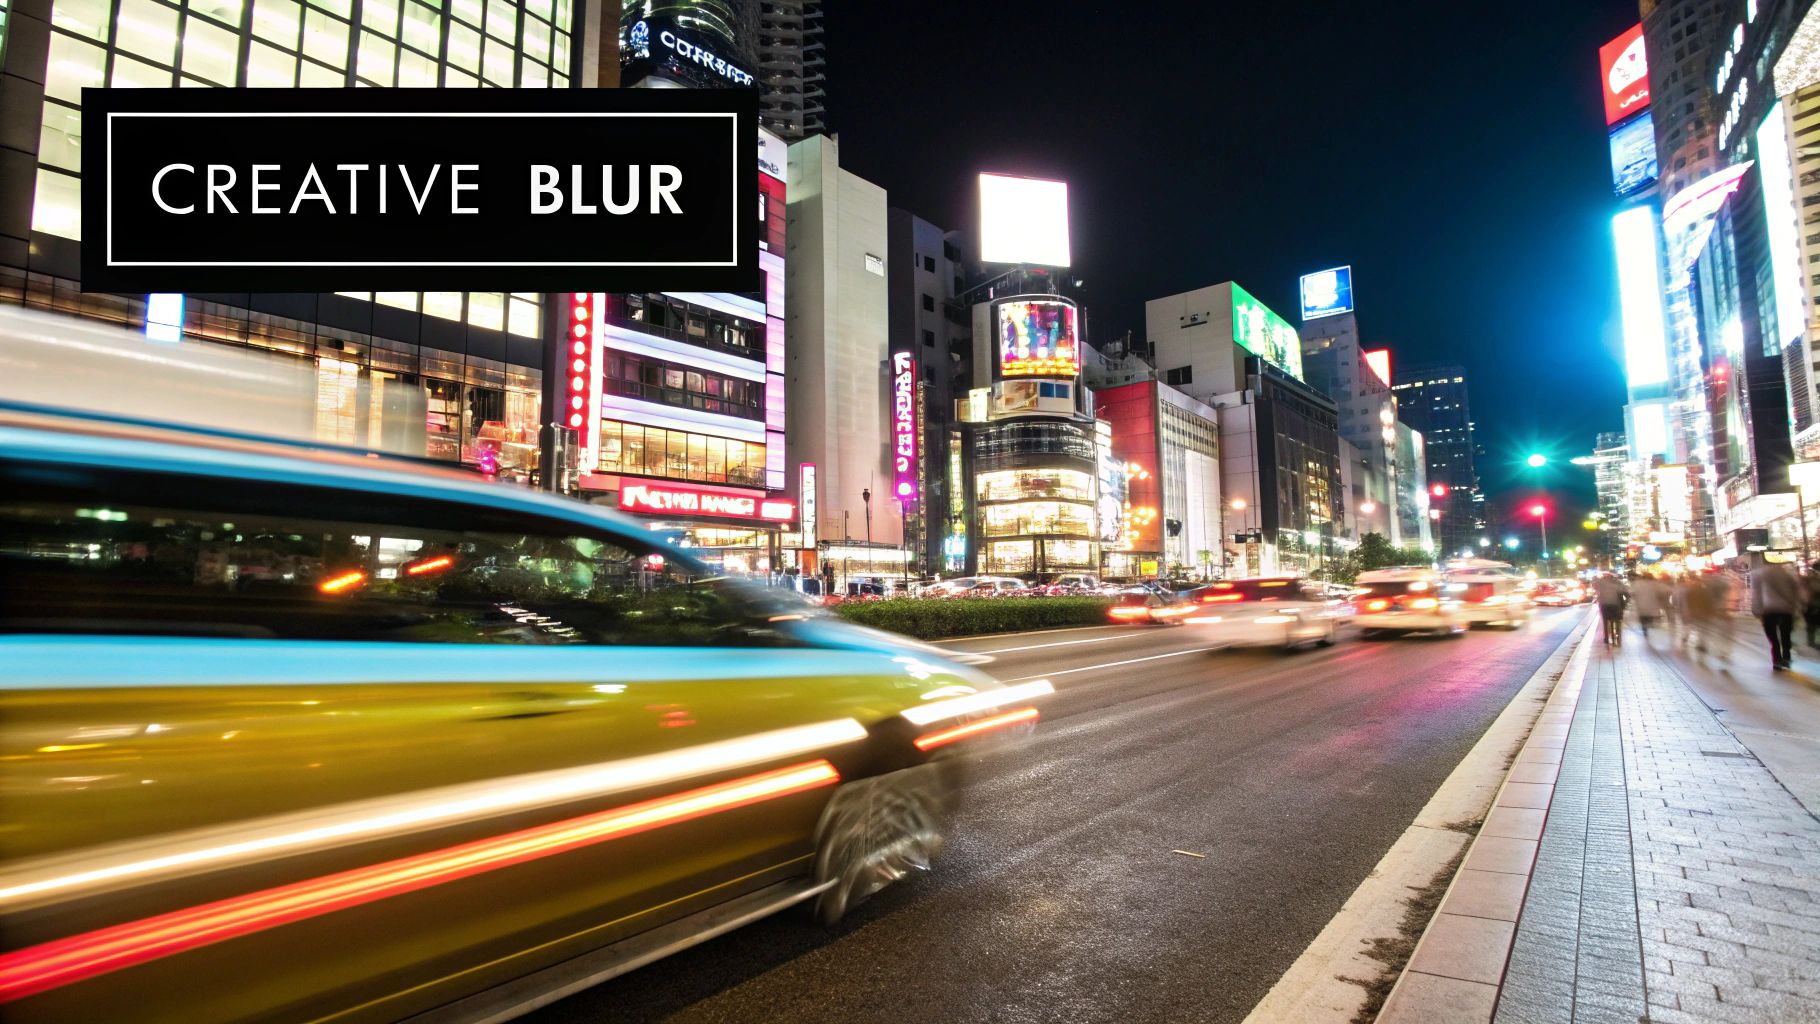
Mastering Motion Blur for Dynamic Visual Storytelling
While a soft background can make your subject stand out, motion blur is where you really start to play with the narrative. A static photo freezes a single instant, but adding intentional motion blur injects a sense of speed, energy, and life. It transforms a simple picture of a car into an image of a racing car, making viewers feel the action. When you add blur to photo elements to suggest movement, you're not just editing—you're directing.
This approach is a favorite among sports and automotive photographers who need to communicate intense action. The secret is to align the blur's direction and strength with the story you want to tell.
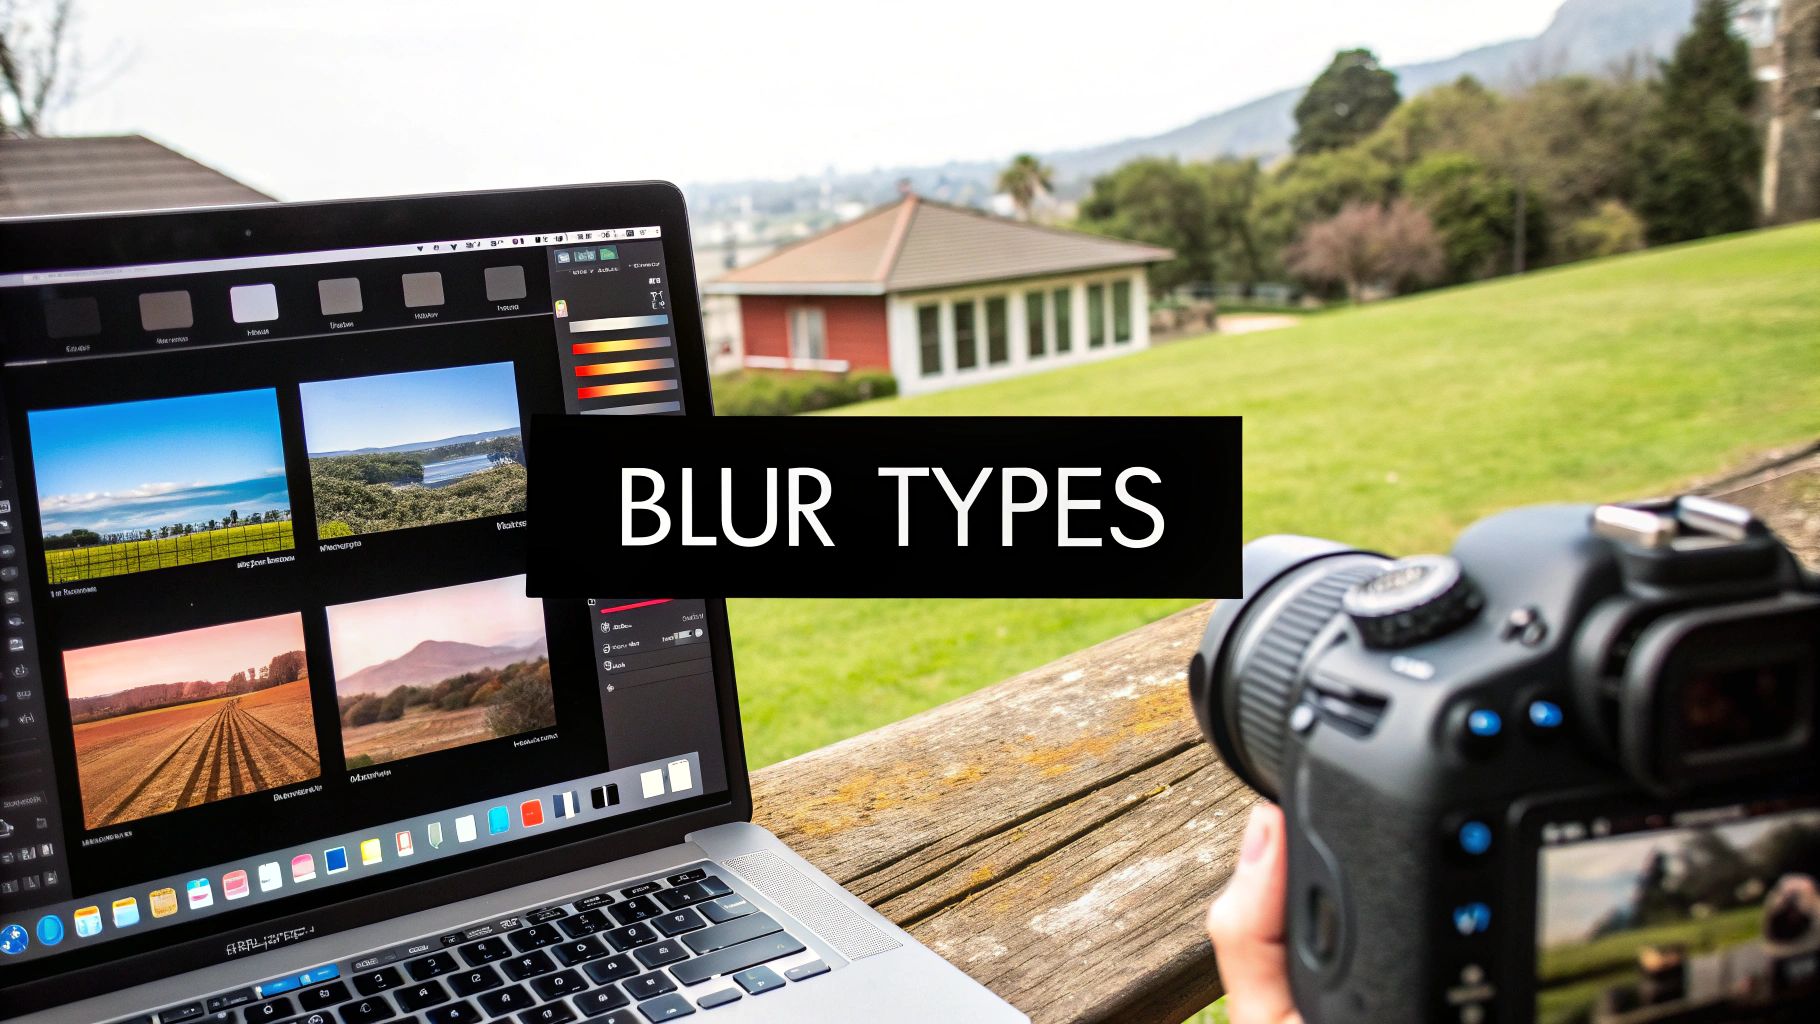
Choosing Your Blur Type
The kind of blur you choose has a direct effect on the story you're telling. Each type creates a unique feeling of movement.
- Linear Blur: This is your best bet for subjects moving in a straight line. Picture a train rushing past a platform or a cyclist speeding down a road. You can adjust the angle to perfectly match the subject's trajectory.
- Radial Blur: This is perfect for anything that spins. Think of a dancer in a pirouette or the wheels of a car doing a burnout. The blur emanates from a central point, creating a convincing rotational effect.
- Zoom Blur: This effect draws the viewer's eye to the center of the image, creating the sensation of rushing toward the subject. It’s a great tool for building a dramatic and energetic focal point.
Technical and Creative Decisions
Adding motion to a still image requires a thoughtful approach to keep it looking realistic. One of the biggest hurdles is making sure the lighting and shadows on your moving subject still fit with the static background. For example, if you blur the background to simulate a car in motion, any sharp shadows cast by the car should be softened and stretched slightly in the direction of travel.
It's a delicate balance. Too little blur, and the effect is unnoticeable. Too much, and your subject becomes an unrecognizable mess. The aim is to find that perfect spot where motion is clear, but the subject remains identifiable. Nailing this is fundamental to creating a powerful dynamic image, a principle that connects to broader ideas you can read about in our guide on composition techniques for photography.
Selective Blur Techniques for Surgical Precision
Sometimes, you need a scalpel, not a sledgehammer. While blurring the entire background is perfect for making a portrait pop, selective blur gives you the control to direct your viewer's attention with incredible accuracy. This is how you can add blur to a photo to create sophisticated effects, like faking a shallow depth of field that you couldn't capture with your camera. It's a great way to make a single product stand out on a crowded shelf or highlight one person in a group photo.
This kind of precision is what makes techniques like the tilt-shift effect so compelling. By blurring just the top and bottom portions of a landscape, you can transform a real city street into what looks like a tiny model world. It’s a clever artistic touch that can make your social media content much more engaging.
Mastering Focus with Gradients and Masks
The secret to a believable selective blur is a smooth, natural transition between the sharp and soft areas of your image. A sharp, hard edge where the blur begins is a dead giveaway that the effect was added later. This is where tools like gradient blurs and layer masks become your best friends.
- Gradient Blur: Let's say you want to pull focus to the center of your shot. A gradient blur applies a blur that gets progressively stronger as it moves from your focal point to the edges, creating a natural-looking tunnel effect.
- Layer Masking: For objects with more complicated outlines, layer masking is the way to go. In a tool like AI Media Studio, you can work in layers. You'd start by blurring the entire image on a new layer, then use a soft brush to "paint away" the blur on the parts you want to keep in sharp focus.
This method gives you maximum creative control, allowing you to blend your focused and blurred areas so seamlessly that the effect feels completely natural. It's a crucial skill for both creative projects and practical uses, like making your e-commerce products look their absolute best.
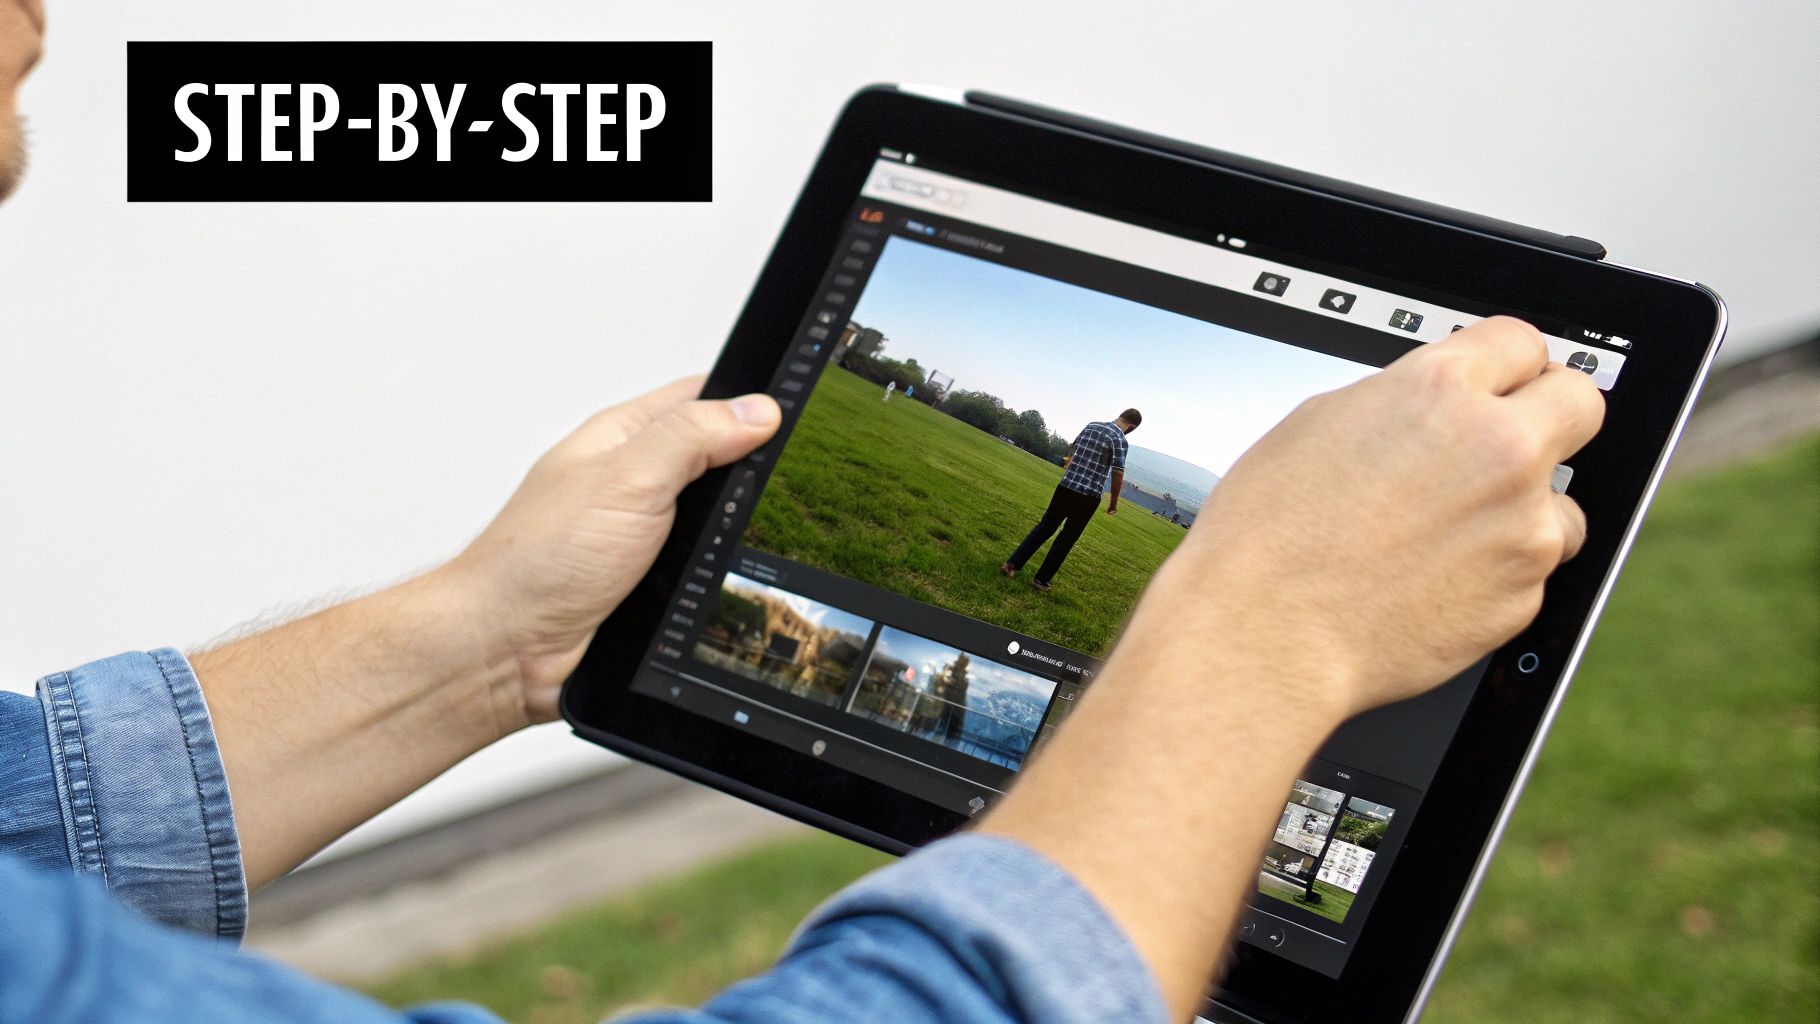
Hands-On Tutorial: Add Blur to Photo Using AI Media Studio
Ready to see how it’s done? Let's walk through the process to add blur to photo backgrounds using AI Media Studio’s intuitive platform. Getting started is simple: just upload your image to the editor. The moment it loads, the AI gets to work, automatically analyzing the scene and separating your main subject from the background. I've found this initial step often gets you 90% of the way to a perfect result in just a few seconds.
Once the subject is isolated, you get full control over the blur settings. Your first decision is the type of blur. Options like Gaussian blur are great for a soft, natural look, while others can provide more specific artistic effects. Next, you’ll fine-tune the intensity. For a close-up headshot, a subtle blur of 20-30% might be all you need to make the subject pop. If you're working with a full-body portrait against a busy city street, you might push the intensity to 50-70% for a more dramatic, professional look.
Mastering Blur Settings for Any Photo
To help you get the best results, I've put together a quick guide based on what I've seen work best for different kinds of pictures. This table breaks down my recommended settings for various scenarios.
| Photo Type | Blur Intensity | Edge Softness | Processing Time | Best Use Case |
|---|---|---|---|---|
| Professional Headshot | 20-30% | Low (5-10%) | ~5 seconds | Creating subtle depth and focus on the subject's face. |
| Full-Body Portrait | 50-70% | Medium (15-25%) | ~10 seconds | Making the subject stand out against a busy background. |
| Product Photography | 10-20% | Very Low (0-5%) | ~4 seconds | Gently softening the background to highlight product details. |
| Group Photo | 30-40% | Medium (10-20%) | ~12 seconds | Blurring distracting elements behind a group of people. |
| Action Shot | 60-80% | High (25-40%) | ~15 seconds | Adding a sense of motion and drama to dynamic scenes. |
As you can see, the right settings depend entirely on your photo and what you want to achieve. A little blur goes a long way for product shots, while portraits can handle a much stronger effect.
The infographic below visualizes this straightforward workflow.
This process shows how quickly you can move from selection to final adjustments. My biggest tip is to use the real-time preview to see your changes without committing. If the blurred background isn't quite what you wanted, you can even explore different looks entirely. For instance, you might be curious to see how our AI background generator can swap it out completely. Always check the edges around your subject for a clean, professional finish before applying the final effect.
Professional Secrets for Authentic-Looking Blur Effects
There's a fine line between a beautiful, artistic blur and an obviously fake, messy edit. When you add blur to a photo, the real trick is to make it look natural, like it was captured by a high-end camera lens. The goal isn't just to make the background hazy; it's to create a convincing sense of depth that makes your subject pop.
Beyond the Basic Blur
To really sell the effect, you have to think like a photographer. A huge part of that is understanding bokeh—the quality and shape of the out-of-focus highlights in the background. Professional camera lenses create soft, pleasing circles of light, but many simple blur filters just smear the background unattractively. When using a tool like AI Media Studio, I always look for settings that let me control the quality of the blur to get that authentic lens look.
Lighting consistency is another dead giveaway. I often see photos where the background is blurred, but its brightness and color don't match the subject, making the person look like a cutout. A simple pro tip is to slightly desaturate or darken the blurred background to enhance the realism. It’s a popular technique—a 2023 survey showed that around 68% of smartphone users use some kind of blur effect for artistic reasons or to mimic depth of field. You can learn more about how these digital tricks developed by exploring the history of digital imaging techniques.
Avoiding Common Mistakes
Nothing ruins a photo faster than a bad editing job. Here are a few amateur mistakes I always try to steer clear of:
- Unnatural Edges: That sharp, glowing outline around your subject is a clear sign of a digital edit. Look for tools with smart edge detection or feathering options to create a soft, seamless transition between the sharp subject and the soft background.
- Inconsistent Blur: Don't just apply one flat level of blur across the entire background. A real camera's focus falls off gradually. Use a gradient or radial blur to make areas farther away look softer, creating a much more believable sense of distance.
- Ignoring Reflections: This is one people often forget. If your subject is standing on a shiny floor or near water, that reflection needs to be blurred too! An unblurred reflection next to a blurred background is an instant giveaway.
Your Blueprint for Blur Effect Mastery
You've seen what's possible, and now it's time to put that knowledge into practice. The real secret to mastering the blur effect isn’t just knowing the theory; it’s about developing a personal workflow and a keen eye for what makes an image stand out. Let's build a practical roadmap to get you there.
Creating Practice Exercises
The best way to learn is by doing. Set up specific challenges for yourself to build muscle memory.
- For background blur: Go find a cluttered location, like a busy park or a messy room, and take some portraits. Your goal is to cleanly separate your subject from the noise.
- For motion blur: Head to a street with moderate traffic. Practice adding a sense of movement to the background of passing cars while keeping the vehicle itself sharp.
- For selective focus: Arrange a few objects at different depths on a table. Experiment with creating a convincing and gradual depth of field, making one object the hero.
This kind of hands-on work is where your artistic judgment develops. You'll quickly learn how much blur helps a photo versus how much just becomes a distraction. Personally, I often start portraits at an f/4 aperture to find a nice balance, then decide if the scene needs more or less blur.
Building Your Portfolio and Skills
As you get more comfortable, start saving your best work. I recommend creating a "before and after" folder. It’s a fantastic way to visually track your progress and show off your skills. Seeing the direct impact of different settings is invaluable.
It's also a good idea to keep tabs on new blur technologies. The tools are always getting better. For instance, Adobe's improved Lens Blur feature now uses AI to produce incredibly realistic effects. Staying informed keeps your work fresh and professional.
Finally, create a troubleshooting checklist for yourself. You'll run into common issues like unnatural "halos" around your subjects, weird lighting differences between sharp and blurred areas, or a blur that just looks flat and too uniform. By learning to spot and fix these problems, you'll elevate your work from basic edits to truly polished results.
Ready to put these skills to the test? You can start creating beautifully blurred images in just a few seconds. Try AI Media Studio today and discover how easy it is to make your photos look their best.