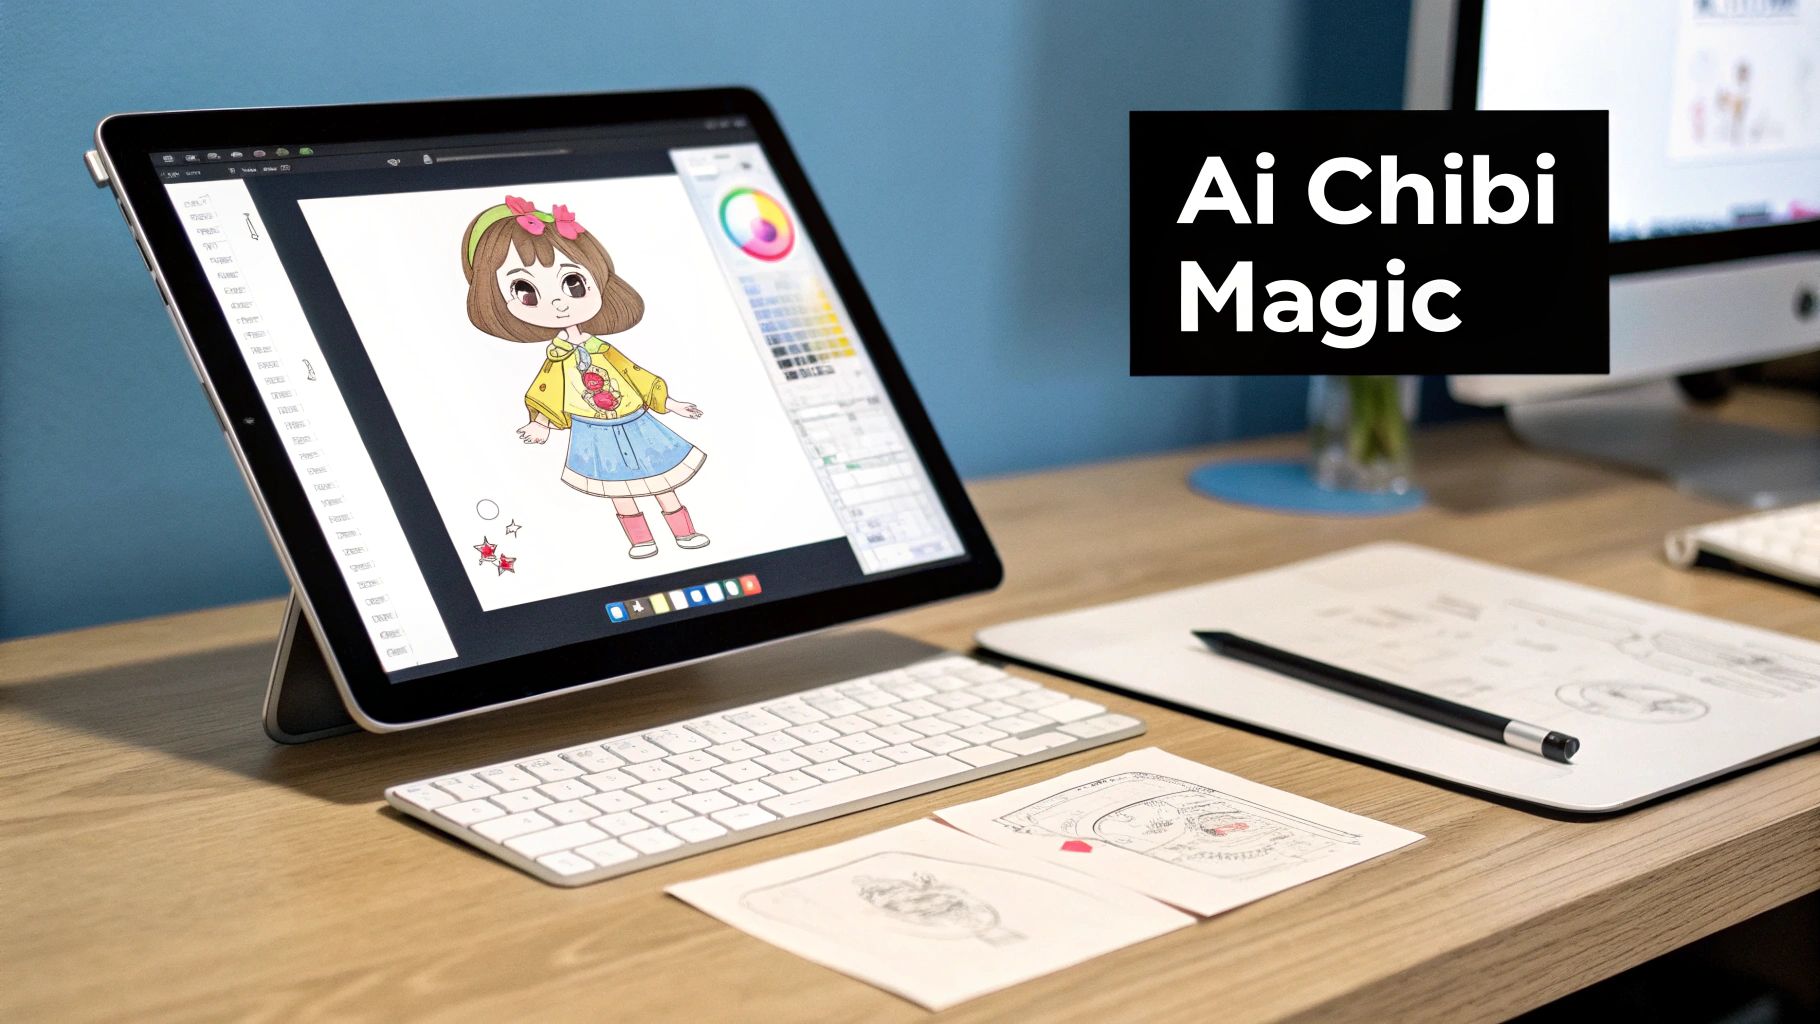
An AI chibi generator is basically a creative partner that uses artificial intelligence to whip up those adorable, miniature characters you see everywhere. You just feed it a text description—your idea—and the AI brings it to life as a unique, super-deformed character with massive eyes and a tiny body. The best part? It happens in seconds.
How AI Chibi Generators Actually Work
Ever wonder how a simple phrase like "a knight holding a fluffy kitten" turns into a charming, pint-sized hero? It’s not just random chance. The magic is in how these AI models are taught to understand both artistic styles and abstract ideas. It's a fascinating mix of creative instinct and heavy-duty tech that lets you become a character designer without ever needing a drawing tablet.
At its heart, a chibi generator runs on a sophisticated AI model that has been trained on a massive dataset. We're talking millions of images, each tagged with descriptive text, including countless examples of chibi, anime, and other cute art styles.
Teaching AI the "Cute" Factor
The AI isn't just cutting and pasting pixels. It's learning the core principles of the chibi aesthetic—the visual DNA that makes a character undeniably chibi. This allows it to apply that style to almost any concept you throw at it.
Here are the key traits the AI masters:
- Exaggerated Proportions: The classic big head, small body ratio.
- Simplified Features: Tiny, minimalistic details for the nose and mouth to put all the focus on cuteness.
- Expressive Eyes: Huge, sparkling eyes that can show a ton of emotion.
- Soft Shapes: Lots of rounded, gentle lines that give chibis their friendly, huggable look.
Think of it like training a digital artist to be a specialist in one specific, charming style. The AI learns to break down concepts like 'fluffy hair' or 'glowing sword' into visual building blocks, then reassembles them following the rules of chibi design. This is what separates a tool that spits out random images from one that delivers intentional, high-quality art. Our own AI character generator is built on these same principles to give you consistent and stylish results every time.
The Tech Powering the Trend
The demand for these kinds of specialized tools is exploding. The market for AI-powered animation generators, which includes character creation tools, is seeing huge global growth. It started with a valuation of around USD 680 million but is now projected to hit approximately USD 5.9 billion by 2032.
This massive jump shows just how valuable these creative tools have become for everyone from professional artists and marketers to everyday hobbyists.
Once you understand how these generators think, you stop just pushing buttons and start collaborating. You learn to guide the AI with the right words to create art that actually matches what's in your head.
Getting this down is your first step toward mastering the process. If you want to explore the wider world of AI-driven art, it's also worth checking out how to create amazing cartoons with an AI cartoon image generator. Now, let’s get into the practical steps you can take to make the AI your go-to creative partner.
Writing Prompts That Create Perfect Chibis
Moving past simple one-line requests is where the real magic happens. A great prompt is less like a command and more like a detailed briefing for your personal digital artist. It's the difference between asking for a "chibi girl" and getting a "chibi girl with bubblegum pink hair, wearing futuristic cyberpunk armor, winking playfully, holding a holographic cat."
The secret is to think in layers. Start with the core subject, then add details about their appearance, clothing, actions, and even their mood. Each new descriptor you add refines the AI's focus, steering it away from a generic image and toward something that truly captures your vision.
Building Your Prompt From the Ground Up
I've found the most successful prompts have three essential parts that work together to paint a complete picture for the AI.
- The Subject: This is the non-negotiable core of your image. It could be a "brave knight," a "shy librarian," or a "mischievous forest spirit." Always start here.
- Defining Details: This layer adds personality. Think specifics like "fiery red hair in a messy bun," "round spectacles perched on her nose," or "glowing magical runes on his arms."
- The Action and Setting: What is your character doing, and where are they? Phrases like "sipping tea in a cozy bookstore," "casting a sparkling spell," or "standing on a cliff overlooking a sunset" provide crucial context.
When you combine these elements, a simple idea blossoms into a rich, detailed scene. This structured approach helps ensure the AI doesn't have to guess what you want, leading to much more accurate and satisfying results right out of the gate. For an even deeper dive, our guide on AI image prompt examples offers a ton of inspiration.
The Power of Negative Prompts
Just as important as telling the AI what you want is telling it what to avoid. This is exactly what negative prompts are for. Think of them as your instructions for exclusion, helping you filter out common AI artifacts and unwanted elements before they ever show up.
A good negative prompt can be a total lifesaver. AI art generators are notoriously bad at certain things (like hands!), and telling them what not to draw can improve your outputs by over 50% in some cases.
Here are a few of my go-to negative prompts:
poorly drawn hands, extra fingers, deformed handsblurry, grainy, low-resolutionwatermark, text, signatureugly, deformed, disfigured
Think of negative prompts as the quality control filter for your creation. They are the guardrails that keep the AI from veering into strange or messy territory, ensuring the final image is clean, coherent, and professional.
Prompt Evolution From Basic to Brilliant
To really see how this all comes together, let's look at how adding layers of detail can transform a simple request into a unique character. Mastering this is the core skill you need to use any chibi generator effectively.
See how adding layers of detail to your prompt transforms a generic chibi into a unique, high-quality character.
| Prompt Element | Basic Prompt Example | Advanced Prompt Example | Expected Outcome Difference |
|---|---|---|---|
| Character | chibi wizard | chibi gnome wizard with a long white beard | A generic wizard becomes a specific, charming fantasy race. |
| Clothing | wearing robes | wearing star-patterned purple robes with glowing trim | Plain clothing becomes a key part of the character's design. |
| Action | holding a staff | holding a gnarled wooden staff with a crystal orb that glows softly | A static object becomes a dynamic, magical element. |
| Setting | in a forest | in an enchanted forest at night, surrounded by floating pixie lights | The background becomes an immersive, atmospheric scene. |
Getting a feel for this layered approach is the single most important step toward getting consistently amazing results. It's all about developing an instinct for descriptive language that gives the AI the clear, detailed instructions it needs to bring your idea to life.
Fine-Tuning Your Chibi's Style and Proportions
A solid prompt is a great start, but true mastery of a chibi generator comes from art directing the AI. This means you're not just describing a character; you're guiding the actual artistic style, from the body shape down to the specific colors. This is the secret to getting your chibi, not just a good one.
It all begins with the single most defining feature of chibi art: the proportions. The classic look is often called "super-deformed" or SD, typically featuring a body that’s only 1.5 to 2 times the height of the head. You can call this out directly in your prompt with phrases like 2-head chibi or super deformed style.
But what if you need something a little different? For a character that feels a bit more grounded while still being undeniably cute, try asking for a 3-head chibi. This gives the AI more canvas for clothing details and opens up possibilities for more dynamic poses, all without losing that essential charm.
Nailing the Facial Features and Expressions
Beyond the body, the face is where a chibi's personality really comes to life. Let’s be honest, it’s all about the eyes. You can get incredibly specific here to completely shift the mood of your character.
- For that classic, sweet look, use terms like
kawaii round eyes,sparkling anime eyes, ordoe-eyed expression. - If you're aiming for something cooler or more action-oriented, try
cool shounen eyesordetermined, sharp eyes. - Want a simpler, sticker-like vibe? Prompts with
dot eyesorbutton eyeswork beautifully.
This same thinking applies to the character's expression. Don't just say "happy." Describe the kind of happiness you want to see. Is it a playful wink, a shy, gentle smile, or a mischievous smirk? Each phrase gives the AI more specific direction, leading to a much more nuanced and emotionally resonant image.
This simple diagram shows how you layer these ideas—core concept, style, and details—to build a complete picture for the AI.
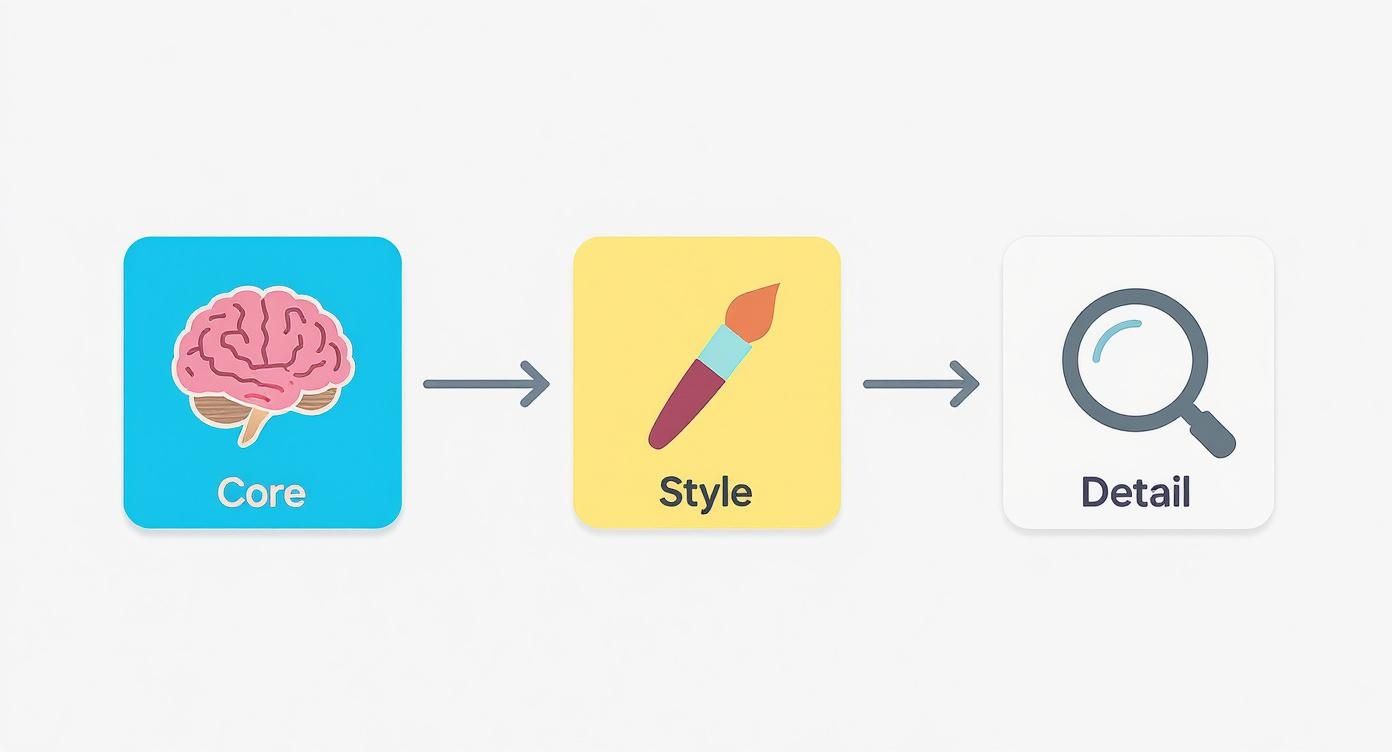
By stacking these elements, you leave less up to chance and get much closer to the vision in your head.
Directing the Color and Overall Aesthetic
Finally, it's time to play colorist. The AI has its own default tendencies, but you can easily override them with style keywords that evoke a certain mood or aesthetic. This is a game-changer for making sure your chibi fits perfectly into an existing brand or project.
Think of style keywords as your personal art direction toolkit. They are the shorthand you use to tell the AI not just what to draw, but how to draw it, influencing everything from line weight to lighting.
Consider some of these stylistic directions for your next creation:
- For a soft, dreamy feel: Use keywords like
soft pastel color palette,watercolor style, orgentle, diffused lighting. - For a bold, modern look: Try
vibrant cyberpunk neon colors,cel-shaded, orgraphic novel art style. - For a cute, simple design: Prompts with
flat 2D illustration,minimalist line art, orkawaii sticker designare your best bet.
Playing with these controls is how you unlock the full power of any chibi generator. You stop being a passive user and become an active creator, making deliberate choices that shape every aspect of the final artwork.
Editing and Expanding Your Chibi Creation
Let’s be honest: your first generated image is rarely the final one. Think of it as a starting point—the raw clay. The real magic happens when you use editing tools to smooth out the rough edges and build on that initial idea. This is what separates someone just using a chibi generator from a true digital artist who’s in full control.
One of the most common headaches, even with powerful AI, is getting hands right. We’ve all seen it: chibis with six fingers or hands bent at impossible angles. Instead of tossing out an otherwise perfect image, you can fix just that one little spot with a tool called inpainting.
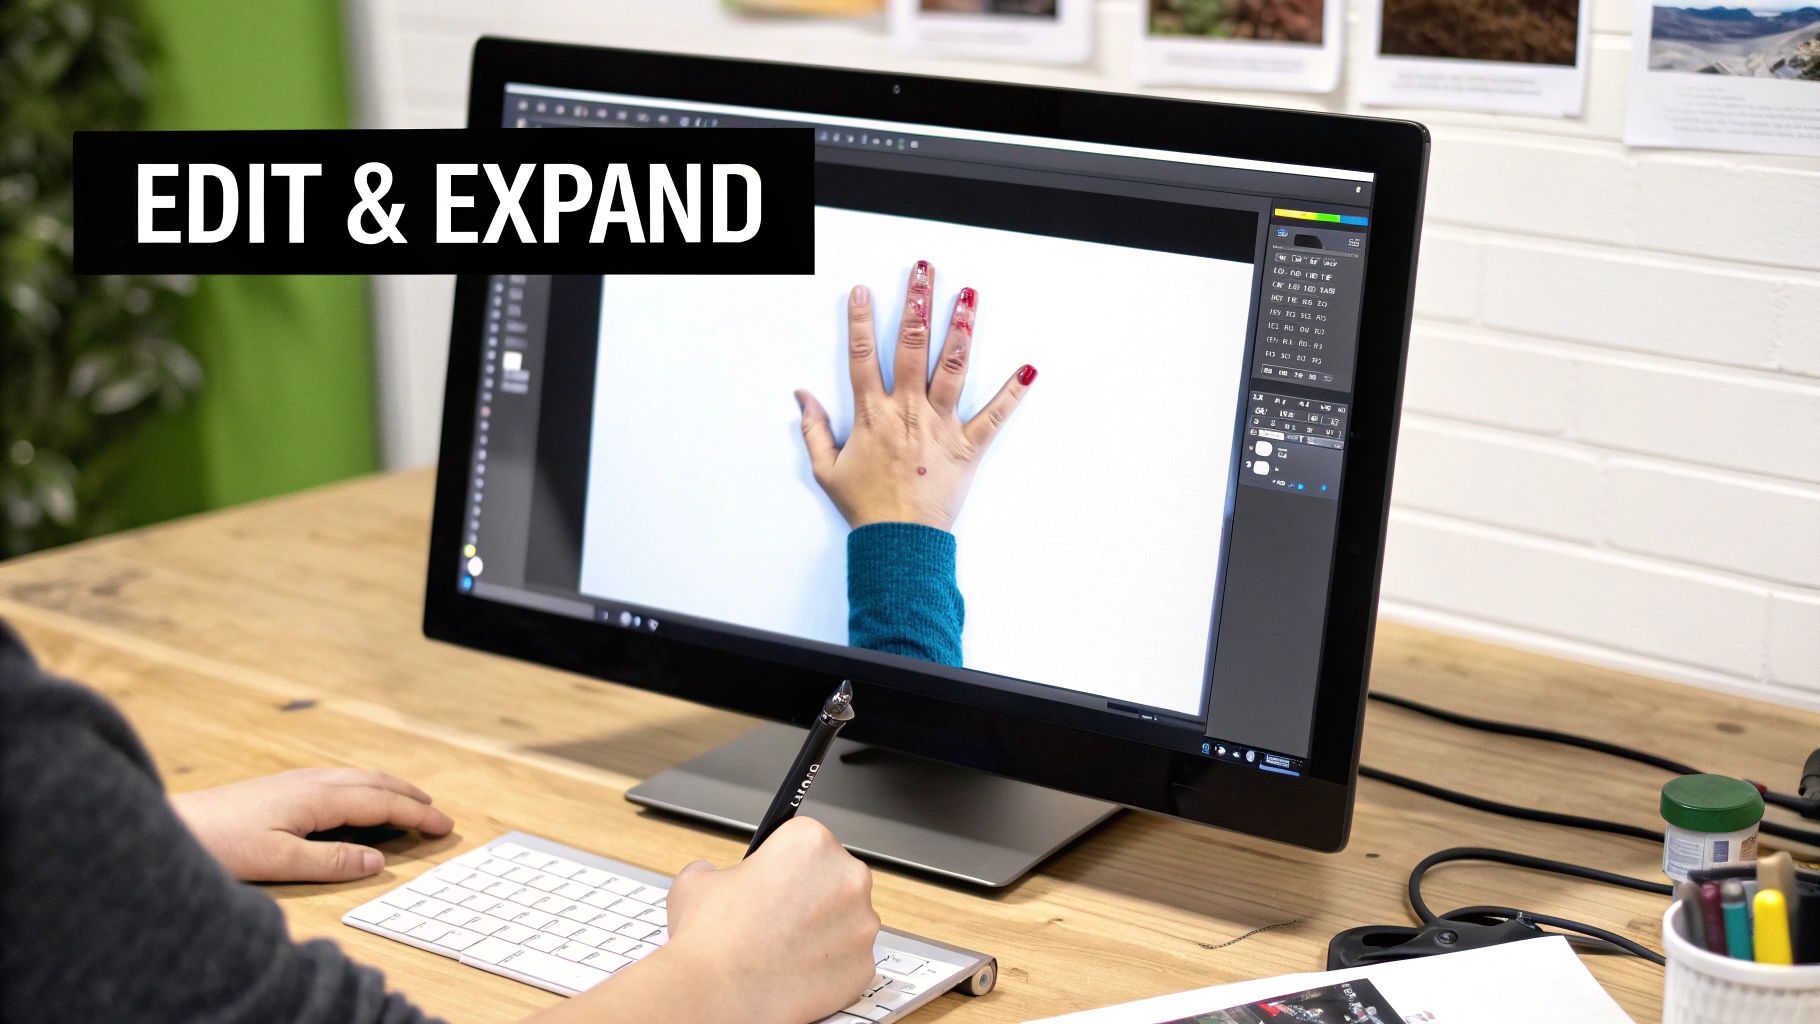
Here's how it works: you simply mask, or paint over, the problem area. Then, you give the AI a new, super-specific prompt like, "small, cute chibi hand holding a flower, detailed, well-drawn," and it will regenerate only the masked part. This surgical approach saves a ton of time and keeps all the parts you already love. To see this in action, check out our guide on the benefits of using inpainting for AI images.
From a Character to a Complete Scene
Once you’ve perfected your chibi character, don't stop there! This is where outpainting (sometimes called "infinite canvas") completely changes the game. Outpainting lets you expand the original image by generating new content around the edges, turning a simple character portrait into a full-blown scene.
Say you have a flawless chibi knight. With outpainting, you could expand the canvas and create:
- A sprawling fantasy landscape with a distant castle.
- A dense, enchanted forest filled with glowing mushrooms.
- A dramatic battlefield with other characters in the background.
You just extend the image boundaries and feed the AI a new prompt describing the background you want to see. Suddenly, you're building a whole world around your character, telling a much richer visual story. It’s an incredibly powerful way to bring a full vision to life.
These editing tools are fundamental. They close the gap between what the AI first spits out and the polished artwork you had in your head, giving you the precision to fix flaws and literally expand your creative canvas.
This growing demand for powerful creative tools is reflected in the AI image generator market, which was already valued at USD 9.1 billion. It’s projected to hit around USD 63.29 billion by 2030, driven by its use in digital art, marketing, and entertainment. Mastering tools like inpainting and outpainting puts you right at the forefront of this exciting field.
Putting Your Custom Chibis to Use
So you've brought an amazing chibi character to life—what’s next? The real fun starts now, when you move that creation from the generator into real-world projects where its charm can truly shine.
Think of your new chibi as a personal brand ambassador or a creative mascot. Its potential goes far beyond a single image file. Whether you're building a community, launching a product, or just adding a spark of personality to your online presence, this little character is a powerful visual tool just waiting to be deployed.
Designing Unforgettable Avatars and Profile Pictures
One of the quickest and most effective ways to use your chibi is as a profile picture. On crowded platforms like Discord, Twitch, or Instagram, a unique avatar helps you stand out in a sea of generic photos. The goal is instant recognition.
To nail your avatar, focus the prompt on a clear, expressive face. Try using phrases like chibi character, headshot, winking playfully, looking directly at viewer, clean background. This makes sure the character’s personality pops, even when it’s shrunk down into a tiny circle. Don't be afraid to experiment with bold, high-contrast colors that grab attention and reflect your personal style.
Enhancing Blog Posts and Social Media Content
Your custom chibi can also become a recurring character in your content. Imagine a little mascot guiding readers through a tutorial or reacting to key points in a blog post. This adds a fun layer of engagement and visual consistency that makes your content far more memorable.
For this, you’ll want to generate a whole set of chibis with different expressions and poses. A few prompt ideas to get you started:
chibi character pointing at something, surprised expressionchibi character sitting and thinking with a lightbulb overheadchibi character giving a thumbs up, happy expression
Building a small library of these "reaction" images gives you a versatile toolkit for any piece of content. This kind of visual storytelling is part of a much larger trend. The entire AI anime generator market, which includes chibi art, is on a remarkable growth path—it's expected to hit USD 384.4 billion by 2030 as more creators find new ways to use AI-generated art. You can learn more about the growth of the anime market and see how creators are using these new tools.
Your chibi isn't just a static image; it’s a dynamic visual asset. By generating multiple poses and expressions, you can create a character that feels alive and actively participates in your content, making your message more relatable and fun.
Creating Stickers and Merchandise
Ready to turn your art into something you can actually hold? High-resolution chibis are perfect for custom merchandise like stickers, t-shirts, and keychains. The secret here is generating images with a transparent or simple background so they can be easily printed.
Use prompt keywords like chibi sticker sheet, multiple poses, white background, clean outlines, die-cut style. This tells the chibi generator you need isolated characters ready for printing. When you export from AI Media Studio, always choose the highest resolution possible. This ensures your designs look crisp and professional on physical products, connecting your digital creativity with real-world items people will love.
Of course, every powerful creative tool has its quirks. As you dive into making chibis, you'll probably hit a few common snags. Knowing the right way to handle them can save you a ton of time and get you back to the fun part—creating.
Let’s go over some of the questions that come up most often.
Why Do My Chibi’s Hands and Feet Look Weird?
Ah, the classic AI art problem. This is easily the most common issue across almost every image generator out there. Hands and feet are just incredibly complex, full of tiny, overlapping parts that can be posed in a million different ways. Even AI models trained on vast libraries of images can get them wrong.
The best fix for this is almost always inpainting. Just mask over the wonky hand or foot and feed the generator a very specific prompt to fix it. I’ve had great results with things like cute, simple chibi hand, five fingers, well-drawn. It also really helps to add negative prompts like extra fingers, deformed, ugly to steer the AI away from common mistakes.
How Can I Get More Consistent Characters?
Making the same character appear in different scenes is a well-known challenge. Right now, AI doesn't really "remember" a character you made in a previous generation. The trick is to build an incredibly detailed prompt and then reuse that exact prompt for every new image, only tweaking the parts that describe the action or expression.
My Pro Tip: I keep a running document with a "master prompt" for each of my original characters. This file lists everything: hair color, eye style, specific clothing down to the last button, and any unique features like scars or accessories. The more consistent you are with your input, the more consistent the AI will be with its output.
Can I Use the Chibis I Generate for Commercial Projects?
This is a big one, and the answer is: it completely depends on the tool you're using. Some generators, especially the free ones, will restrict you from using your creations for any commercial purpose. That means you can't put them on merchandise, use them in marketing, or anything else you plan to sell.
You absolutely have to check the terms of service of any platform you use.
- Free or Personal Plans: These are usually limited to non-commercial, personal projects only.
- Paid or Pro Plans: These plans typically grant you full commercial rights, so you can sell or use your art however you want.
For example, with a paid plan here at AI Media Studio, you get full ownership. That peace of mind is crucial, as it ensures you’re always on the right side of copyright and can confidently build a business around your art.
Ready to create stunning, high-quality chibi characters without the usual headaches? With AI Media Studio, you get advanced editing tools and full commercial rights on our paid plans, giving you the power to bring any idea to life. Start creating for free today.