Understanding Photo Effects and Their Creative Impact
When you decide to add effects to photos, you're stepping into the role of a storyteller. A simple effect can completely change an image's mood, transforming a basic portrait into a thoughtful piece or making a standard product shot feel dynamic and exciting. Think of effects as a visual language. A soft, warm glow might suggest nostalgia, while high contrast and sharp details can convey energy. It’s all about strengthening the message your photo already holds, not just covering up a weak composition.
Why Effects Are More Than Just Filters
Experienced creators know that effects are used with purpose. A food blogger, for example, might add a touch of saturation and sharpness to a photo of a fresh salad. This makes the greens look more vibrant and the textures more appealing to their audience. In contrast, a travel photographer might use a faded, vintage effect on a picture of ancient ruins to bring out a sense of history and timelessness.
This thoughtful approach is what makes an image stick with someone. The goal is to make the viewer feel something by guiding their emotional response. This appreciation for powerful editing tools is clear in the market's growth. The global demand for photo editing software hit USD 1.33 billion in 2023 and is expected to reach USD 1.96 billion by 2032, as detailed in this photo editing market analysis.
Building a Cohesive Visual Brand
Beyond individual pictures, effects are essential for building a brand. The most successful social media accounts often share a consistent visual style, and it’s no accident. They achieve this by using a specific set of effects or a unified color palette across all their photos.
This creates a recognizable and professional feed that followers immediately connect with. It sets expectations and reinforces the brand’s message, whether it’s for a personal blog or a large corporation. This consistency turns a simple photo gallery into a carefully curated experience.
Finding Your Perfect Photo Editing Tool
Ready to add effects to photos but not sure which software to use? Picking the right one can feel overwhelming when every option claims to be the best. The truth is, the "best" tool really depends on your specific goals, skill level, and budget. Let's cut through the marketing noise and figure out what makes sense for your workflow.
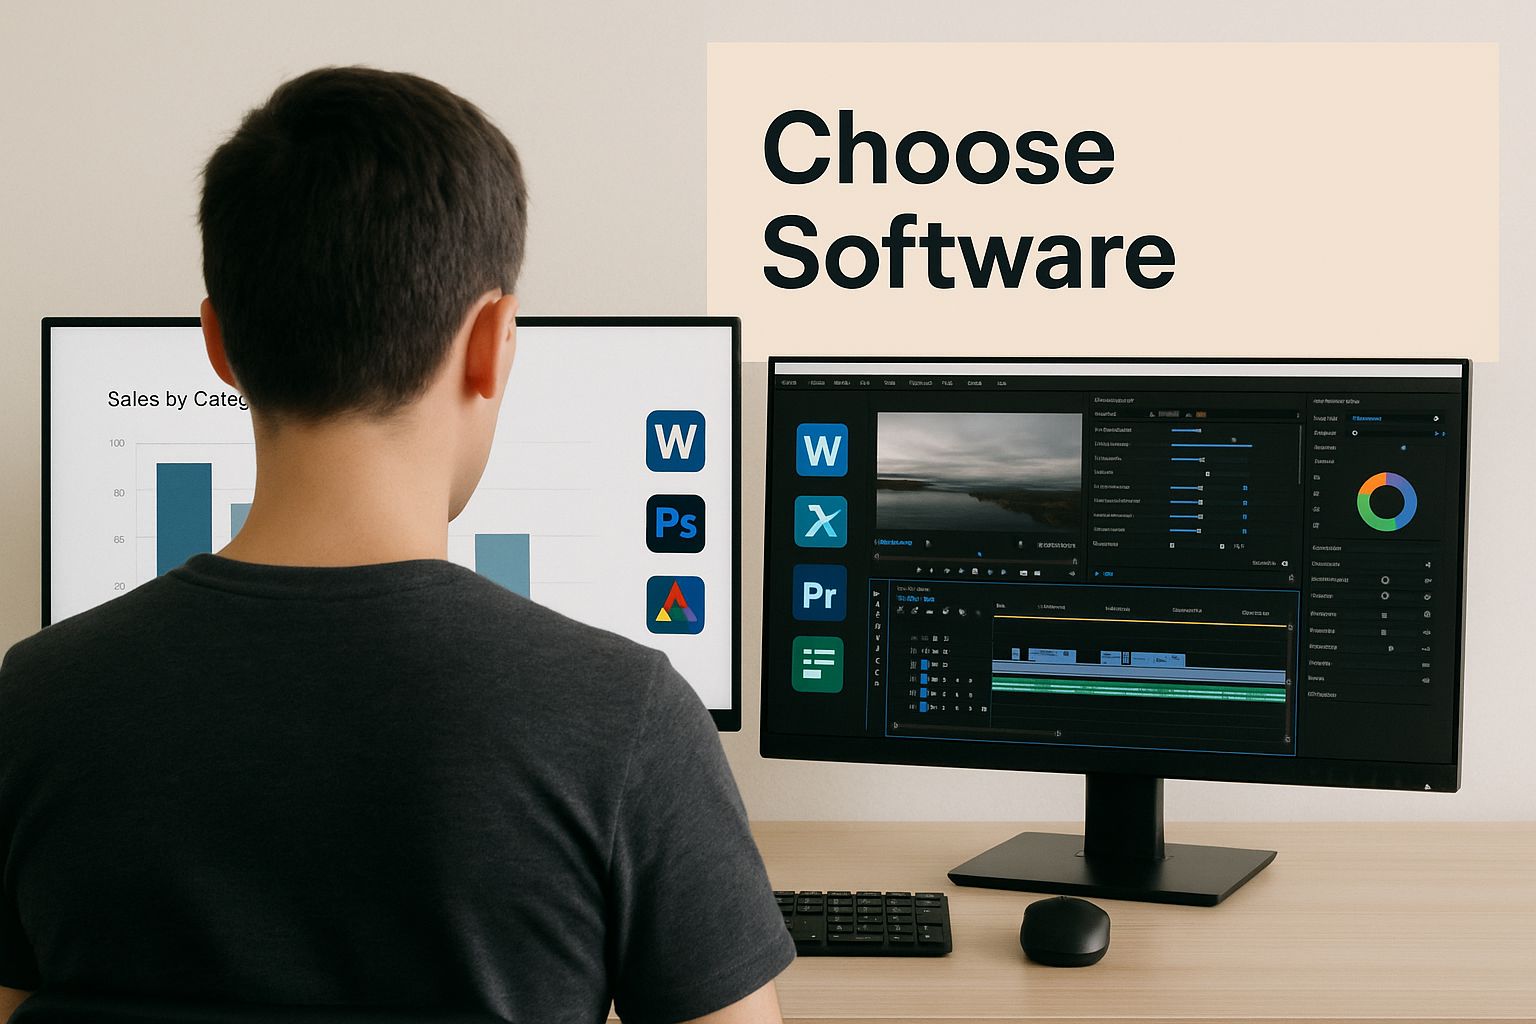
The infographic below breaks down this choice, showing how different user needs match up with various types of software.

As you can see, your decision hinges on whether you need intricate layering for a composite image, fast batch edits for a wedding photoshoot, or just quick adjustments on the go for your social media. This choice directly affects how efficiently you work and the quality of your final images.
To give you a clearer picture, I've put together a comparison of some popular options, highlighting what they do best.
Photo Editing Software Comparison
A comprehensive comparison of popular photo editing software options, their key features, pricing, and best use cases.
| Software | Best For | Key Features | Pricing | Learning Curve |
|---|---|---|---|---|
| Adobe Photoshop | Professional retouching, complex compositing, and graphic design | Advanced layering, masks, selection tools, 3D modeling, vast filter library | Subscription-based (from $22.99/mo) | Steep |
| Adobe Lightroom | Photographers, batch editing, and photo organization | Non-destructive editing, RAW file processing, presets, cloud sync | Subscription-based (from $9.99/mo) | Moderate |
| AI Media Studio | Marketers & content creators needing fast, high-quality visuals without technical skills | AI-powered effect generation, style transfer, one-click enhancements | Varies (offers free & paid plans) | Low |
| VSCO | Mobile-first editing, artistic filters, and social sharing | High-quality presets, video editing, community platform, intuitive controls | Freemium with subscription for full features | Low |
This table shows that while one tool might offer immense power, another provides speed and simplicity. The key is finding the right balance for your needs.
Software for Every Skill Level
For intensive, detail-oriented work, Adobe Photoshop remains the industry titan. Its reputation is well-deserved, offering unmatched control for professional retouching and complex image manipulation. It’s so dominant that as of early 2025, it's the choice for about one-third of all graphics and photo editing users. You can dig into more photo editing software market share data on Statista. But let's be honest, not everyone needs that kind of firepower.
Here’s how to think about your options based on common scenarios:
- For Professionals and Creatives: If your work involves layers, masks, and pixel-perfect adjustments, a tool like Photoshop is indispensable. The learning curve is steep, but the creative freedom you get is second to none.
- For Efficient Batch Editing: Photographers who need to edit hundreds of photos from a single event often rely on Adobe Lightroom. It’s brilliant at applying consistent effects and adjustments across large galleries, saving an incredible amount of time.
- For Quick Mobile Edits: For those editing on the fly, apps like VSCO and Snapseed have been game-changers. They pack powerful filters and simple controls perfect for creating stunning social media content right from your phone.
- For AI-Powered Simplicity: Newer platforms like our own AI Media Studio are built for marketers and content creators who need to generate impressive visuals without a design degree. It’s ideal for applying complex styles and effects without getting bogged down in technical details.
Mastering Essential Effects That Actually Matter
Before you jump into the world of complex filters and one-click presets, let's talk about the foundational adjustments that can truly make or break a photo. These core effects are the secret sauce that separates a quick phone snap from a professional-looking image. When you add effects to photos, the goal isn't to make the image unrecognizable; it's to enhance what's already there and guide the viewer's eye. It’s about understanding why you’re making an adjustment, not just what the slider does.
The Power of Subtle Adjustments
I've found that the most impactful edits are often the most subtle. Let's focus on three effects that I always turn to: exposure, contrast, and vignettes.
- Exposure: Think of this as your main tool for setting the mood. A small bump in exposure can give a photo a bright, airy feel. A slight decrease can introduce drama and intimacy. For example, if you're editing a portrait taken in a dimly lit room, you want to boost the exposure just enough to reveal the subject's expression without completely washing out the highlights. It's a delicate balance.
- Contrast: This is often more important than saturation for making an image pop. Contrast is all about the difference between the light and dark parts of your photo. In a food shot, higher contrast can make the textures and colors of the ingredients look more delicious. For a landscape, lower contrast can create a soft, almost dreamy atmosphere. A common pitfall is just cranking up the saturation, which can look fake. A simple contrast boost usually adds that richness and depth much more naturally.
- Vignettes: A well-executed vignette is a powerful tool for directing attention. The trick is to make it so subtle that it's almost invisible. A harsh, dark circle around your photo is a dead giveaway of a beginner's edit. A great vignette is a soft, gradual darkening of the corners that you feel more than you actually see, pulling your focus to the center of the frame.
Getting these basics right is the foundation for any editing style you develop. Interestingly, these are also the core principles that many AI-powered editing tools use to intelligently adjust photos. If you're curious about how AI can take image creation a step further, you might enjoy our guide on the AI Media Studio free AI art generator.
Creative Effects That Make Your Photos Memorable
Once you've got the hang of the basics, it’s time to find your signature style. This is where the real fun begins, moving past simple fixes and into genuine artistry. You'll be turning everyday snapshots into something memorable. The trick isn't just knowing which effect to apply, but how to blend them together to tell a better story.

Developing Your Artistic Voice
What kind of images do you find yourself drawn to? Maybe it's the soft, painterly feel of certain portraits or the raw, film-like texture of street photography. These looks are built by layering specific effects. For example, a convincing vintage photo isn't just a filter; it's a careful mix of a subtle color grade, a hint of grain, and maybe some light leaks that feel like they came from an old camera. Each piece adds to that feeling of nostalgia.
Here are a few creative ideas you can explore:
- Double Exposure: This is a classic method for blending two pictures into one surreal, layered story. Think about combining a portrait with a forest scene to show a person's deep bond with nature.
- Light Leaks and Bokeh: You don't need a pricey lens to get professional-looking effects. You can add digital light leaks for a warm, analog vibe or create soft, blurry bokeh circles to make your subject pop against a dreamy background.
- Creative Textures: A subtle texture, like paper or canvas, can give your photo a physical depth and character. For an even more artistic touch, a watercolor effect can transform a simple landscape into a piece of art. If that sounds interesting, you can learn more about how to get a watercolor style with AI Media Studio.
The idea is to play around until you discover combinations that feel right to you. The real magic happens when you find a balance. A frequent mistake is going too far and letting the effects overpower the original photo. Your best work will be an enhancement, not a mask. Start by applying one or two effects and build from there. With practice, you’ll develop an instinct for what an image needs to become truly special.
Advanced Techniques for Professional Results
To get your images to a professional level, you'll want to move beyond simple adjustments. Let’s dive into a few powerful methods that will give your work a polished edge when you add effects to photos. One of the most impactful tools in your kit should be blend modes, which dictate how different layers in your image interact.
For example, using the "Screen" blend mode is a fantastic trick for adding realistic light effects, like a soft sun flare that naturally brightens the areas it touches. On the other hand, the "Multiply" blend mode is your best friend for deepening shadows and adding richness to an image without just making it uniformly dark.
Layering Effects for a Signature Style
The real magic happens when you start combining these techniques. You can layer multiple effects to develop a unique style that’s distinctly your own. Picture this: you're editing a portrait and want to give it more character.
- You could start with a soft texture overlay, setting its opacity low to add a subtle, tactile feel.
- Next, create a new layer and use a soft brush to paint in some light, setting that layer's blend mode to "Screen" to create beautiful, dimensional highlights.
This non-destructive workflow, where each adjustment lives on its own layer, is a cornerstone of professional photo editing. It gives you the freedom to tweak each element individually without ever altering your original photograph.
Building Your Professional Workflow
Mastering these skills is essential for standing out. The market for photo editing software is substantial; in 2024, North America alone generated approximately USD 390.68 million from these tools, capturing over 34% of the global market. You can explore more about these industry figures in this detailed photo editing software market report.
A great way to get comfortable with these advanced concepts is to try and replicate different artistic movements. For instance, you could experiment by mixing color adjustments with textural overlays to create a specific mood. If you're curious about how AI can help, you can see it in action with our tool that creates an impressionist style for your photos. Getting these methods down will give you the control you need to turn any photo into a compelling piece of art.
Mobile Photo Effects for Every Situation
Your smartphone is a powerful editing studio that fits right in your pocket, making it easier than ever to add effects to photos on the go. But with so many apps out there, finding the ones that are actually worth your time can be a challenge. The best mobile tools mix powerful features with simple controls, letting you create amazing images without being chained to a desk.

Mobile-Specific Techniques and Apps
For years, photographers have used clever tricks to get unique effects, like using a long exposure to capture the light trails of a "ghost train." Now, an app like Slow Shutter Cam lets you do the same thing on your phone, adjusting motion blur with easy-to-use sliders. It's a perfect example of how complex photo effects are now accessible with just a few taps.
When you're picking an app, think about what you want to achieve.
- For quick, stylish filters: The built-in tools on Instagram or an app like VSCO are fantastic for creating a consistent look for your social media feed.
- For professional-grade control: Apps such as Adobe Lightroom Mobile provide advanced features like RAW editing and selective adjustments that rival desktop software.
- For automated AI enhancements: AI-powered tools can analyze your photo and apply smart adjustments automatically. For instance, our own AI Media Studio lets you apply artistic styles like watercolor or impressionism with a single tap, saving time while producing creative results.
To help you decide, here’s a quick comparison of some of the top mobile photo editing apps available today.
Top Mobile Photo Editing Apps
| App Name | Platform | Key Effects | Price | User Rating | Best Feature |
|---|---|---|---|---|---|
| VSCO | iOS, Android | Film emulation, subtle filters, advanced editing | Freemium, Pro at $29.99/year | 4.7 ⭐ | Community and preset library |
| Adobe Lightroom Mobile | iOS, Android | RAW editing, masking, color grading | Freemium, full features in Creative Cloud subscription | 4.8 ⭐ | Cross-device syncing and pro tools |
| Snapseed | iOS, Android | HDR Scape, selective adjustments, healing brush | Free | 4.5 ⭐ | Powerful selective editing tools |
| Picsart | iOS, Android | Collages, AI filters, double exposure | Freemium, Gold at $55.99/year | 4.6 ⭐ | All-in-one creative suite |
| AI Media Studio | Web-based | AI-driven artistic styles (watercolor, sketch) | Tiered plans available | 4.9 ⭐ | Instant, one-tap artistic transformations |
This table shows there's an app for every need, from the free and powerful Snapseed for detailed edits to the creative powerhouse of AI Media Studio for unique artistic effects.
Building an Efficient Mobile Workflow
The key to successful mobile editing is efficiency. A great personal tip is to create presets of your favorite adjustments. This not only saves a ton of time but also helps you build a recognizable visual brand. By combining the right apps with a smart process, you can produce professional-quality images from anywhere, whether you're commuting or traveling. This flexibility is what makes mobile editing a real game-changer for modern creators.
Your Journey to Photo Effect Mastery
Transforming your photos is a creative skill that gets better with practice, just like learning an instrument. The goal isn't to memorize every single tool but to sharpen your visual instincts. A great way to get started is by carving out a little time each day. Just 15-20 minutes is all you need to play around and experiment without the pressure of creating a masterpiece.
I find it helpful to try and recreate a style I admire from another artist. The point isn't to copy their work, but to break it down and understand how they achieved a certain look. It’s like reverse-engineering creativity.
From Practice to Portfolio
Once you start feeling more comfortable, it’s a good idea to curate a small portfolio. Think of it less as a gallery for others and more as a personal journal of your progress. It's incredibly motivating to look back and see how your style has evolved and to pinpoint where you want to push yourself next.
If you’re wondering where to begin, here are a few challenges I’ve tried myself:
- For Beginners: Grab one of your photos and see if you can give it three entirely different moods just by playing with color and contrast.
- For Intermediates: Try combining two effects, like a texture overlay and a custom vignette, to tell a more nuanced story with your image.
- For the Ambitious: Find a flat, uninspiring photo from your camera roll and use more advanced techniques to see if you can make it truly pop.
Overcoming Creative Hurdles
Everyone hits a creative wall now and then. Sometimes you might feel burned out, or you might be tempted to keep tweaking an image until it loses its original charm. A simple trick I've learned is knowing when to walk away. After you add effects to photos, give yourself a break for an hour or so.
When you come back to it, you'll see the image with fresh eyes. This small habit is fantastic for developing a more critical perspective—which is arguably the most valuable tool a creator can have.
Ready to start your journey and turn simple shots into stunning visuals? AI Media Studio offers the tools you need to experiment and create with ease.