So, you want to create images with AI? It’s simpler than you might think. All you have to do is give a text description—what we call a "prompt"—to an AI tool like AI Media Studio. The AI takes your words, figures out what you mean, and whips up a totally unique visual based on your instructions. It’s like turning your ideas directly into art, marketing assets, or blog visuals, no design degree required.
How Does AI Actually Make an Image?
Before you jump in and create your first masterpiece, it’s helpful to know what’s going on behind the scenes. At its heart, AI image generation relies on incredibly complex models, like Generative Adversarial Networks (GANs) or diffusion models, that have been trained on billions of images and their text descriptions. When you type in a prompt, the AI sifts through this massive library of "knowledge" to build a brand new image that fits what you asked for.
This isn't just a cool party trick; it's a serious tool that's already making a big impact. The market for these tools is exploding, and it's projected to hit $0.44 billion by 2025. This rapid growth just goes to show how essential AI-powered visuals are becoming for businesses.
This technology acts like an instant creative partner, translating your direction into visual output without any back-and-forth. It’s a game-changer for designers, marketers, and creators alike.
To get a better sense of how this works in the real world, just look at the rise of automated image generation in digital marketing. It lets you create on-brand, relevant visuals at a scale that was impossible just a few years ago, completely changing the content creation workflow.
For a clearer picture, let's break down the basic workflow.
Quick Guide to AI Image Generation
This table outlines the core steps you'll take when generating an image with AI, from the initial idea to the final product.
| Phase | Your Action | Desired Outcome |
|---|---|---|
| Ideation | Define the purpose and style of the image. | A clear concept for what you want to create. |
| Prompting | Write a detailed text prompt describing your vision. | A high-quality image that matches your description. |
| Refinement | Tweak the prompt or use editing tools to fine-tune the result. | An improved visual that perfectly fits your needs. |
| Export | Download the final image in the required format and resolution. | A ready-to-use asset for your project. |
Understanding these fundamental stages will help you move from a blank slate to a finished visual efficiently and effectively.
Picking the Right AI Image Generation Tool
It feels like a new AI image tool pops up every day, and honestly, picking the right one can be a headache. Forget getting bogged down in endless feature lists. The real secret is to zero in on what you actually need to do. Your choice should come down to your specific goals, whether you're creating consistent assets for a marketing campaign or just want to play around with some wild artistic concepts.
A marketing team, for instance, needs a tool that can reliably churn out photorealistic images and keep everything on-brand. A digital artist, on the other hand, might crave a platform that’s packed with creative styles—think watercolor, cyberpunk, you name it—to get the ideas flowing. For most people, a well-rounded tool like AI Media Studio hits that perfect middle ground, giving you both top-tier quality and an interface that doesn’t require a PhD in prompt engineering.
How to Evaluate Tools for Your Actual Needs
When you're comparing your options, think about how a tool handles specific, real-world tasks. Some platforms, for example, are fantastic at generating visuals for social media. You can even find specialized Pinterest AI generator tools built specifically to help you create scroll-stopping Pins without the usual fuss.
And don't forget the user experience. A clunky, complicated interface will just slow you down, turning what should be a quick task into a massive frustration. We built AI Media Studio for pure efficiency, letting you go from a simple idea to a finished image in seconds. That speed is a game-changer when you're on a tight deadline for blog posts, social media updates, or ad campaigns.
A great AI image generator isn't just about raw power; it's about being accessible. The best tool is the one that slides right into your existing workflow and helps you bring your vision to life without a steep learning curve.
Ultimately, things like output quality, how easy the tool is to use, and the creative styles on offer should be your guide. If you want a deeper dive into how different platforms stack up, check out our guide on the best AI image generators out there today.
Your First Image Generation in AI Media Studio
Alright, you're in! Welcome to the AI Media Studio dashboard. We’ve designed this space to be clean and straightforward, so you can jump right into creating without getting bogged down in complicated menus. Everything you need for that first image is right here.
Your creative command center is the prompt bar, but before we get to that, let's quickly check two essential settings. Think of these as setting up your digital canvas before you start painting.
Nailing the Basics: Model and Aspect Ratio
The first two things you'll want to look at are the Model Type and Aspect Ratio.
The Model is basically the AI's creative "brain." Each one has a different specialty. For instance, our Photorealistic v2.1 model is incredible at producing images that look like real photos. On the other hand, models like Anime or Watercolor are fine-tuned for those specific artistic looks. I'd suggest starting with the photorealistic model—it’s a fantastic way to see the raw power of the platform.
Next up is the Aspect Ratio, which is just a fancy term for the image's shape. Getting this right from the start saves a ton of time on awkward cropping later.
- 1:1 (Square): The go-to for Instagram posts or profile pictures.
- 16:9 (Widescreen): Perfect for blog headers (like for this post!), YouTube thumbnails, or presentation slides.
- 9:16 (Portrait): Your best bet for Instagram Stories, Reels, or phone wallpapers.
For a blog header, you’d pick 16:9. It's that simple.
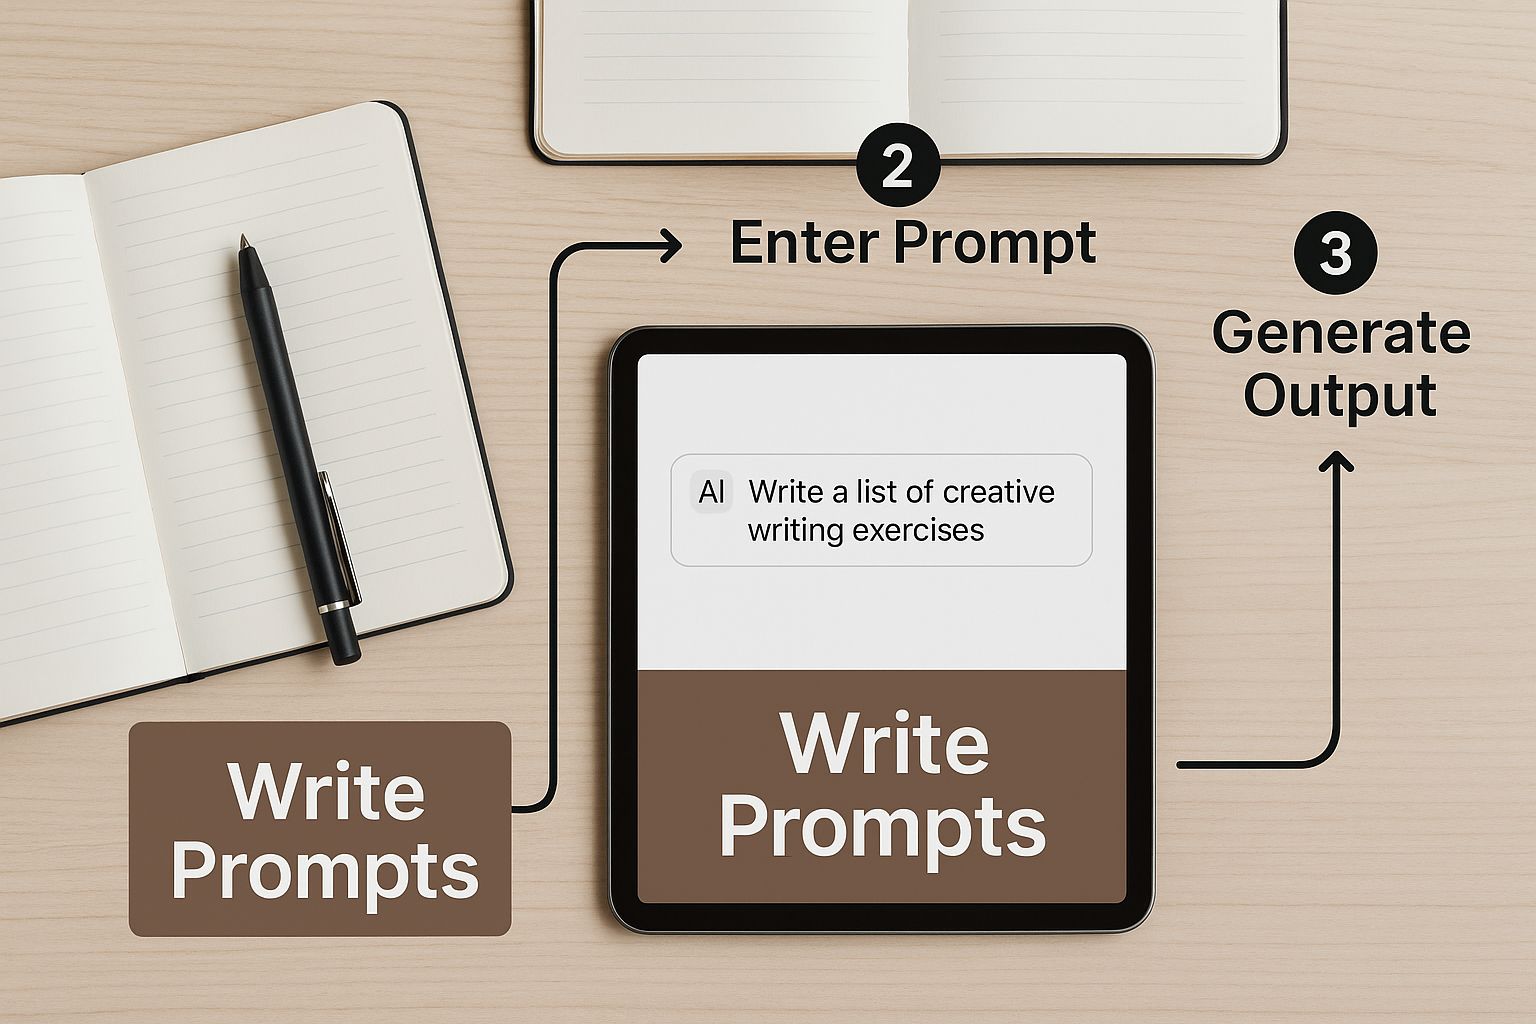
Time to Write Your First Prompt
This is where the magic happens. You don't need to be a coder; you just need to be descriptive. Let's start with a simple example. Instead of just typing "dog," try something with a bit more flavor: "A golden retriever puppy sitting in a field of tall green grass, morning sunlight."
Pro Tip: Think like a photographer. What's the subject? Where is it located? What’s the lighting like? Just adding these few details can dramatically elevate the quality of your image.
Once your prompt is ready, hit that "Generate" button. In just a few seconds, AI Media Studio will give you a handful of images based on your words. This first batch is your creative launchpad.
Don't sweat it if the first images aren't exactly what you had in mind. Learning how to generate images with ai is all about iteration. You can tweak your prompt, add more detail, or even switch up the style to get closer to your perfect shot. Just pick the one you like best to download or refine even further.
Writing Prompts That Get Results
Anyone can click a "Generate" button. But the real magic behind learning how to generate images with AI lies in mastering the art of the prompt. You have to stop thinking like a user and start thinking like a creative director.
Your words are the only instructions the AI has. A vague idea leads to a vague image. A detailed, thoughtful prompt? That’s how you get a masterpiece.
https://www.youtube.com/embed/W2QuK9TwYXs
This shift from simple commands to rich, descriptive language is what separates mediocre results from incredible ones. To really get a handle on this, it's worth understanding prompt engineering and how it unlocks an AI's true creative power.
This very capability is why the market is exploding. In 2024, the AI image generator market was valued at around USD 418.5 million, and it's projected to skyrocket to USD 2.63 billion by 2035—all driven by the AI's growing ability to interpret our words with stunning accuracy.
The Anatomy of a Powerful Prompt
Getting predictable, high-quality images isn't about luck. It’s about building your prompts with the right ingredients. Don't just tell the AI what to create; tell it how.
Here's what I've found works best:
- The Subject: Be hyper-specific. Don't just say "a car." Say "a vintage red 1965 Ford Mustang convertible." The details matter.
- The Action: Give your subject something to do. What’s happening in the scene? "cruising along a coastal highway at sunset."
- The Environment: Set the stage. Where is all this taking place? "with dramatic cliffs on one side and the sparkling ocean on the other."
- Mood & Lighting: This is where you inject emotion. It’s crucial for setting the tone. Try adding descriptors like "golden hour lighting, cinematic, warm and nostalgic mood."
- Composition & Style: Think like a photographer. Guide the AI's "camera" by specifying things like "wide-angle shot, photorealistic, shot on a 50mm lens."
Putting it all together transforms a simple idea into a rich, specific instruction that the AI can execute with incredible precision. If you're looking for more hands-on examples, check out our full list of AI image prompt examples where we break down what works and why.
A great prompt is a recipe. The more precise your ingredients (details) and instructions (structure), the more delicious the final result will be. Vague recipes lead to unpredictable meals.
From Basic to Brilliant: A Prompt Comparison
To see this in action, look at how adding layers of detail transforms a simple idea into a stunning, specific image.
| Prompt Element | Basic Prompt Example | Advanced Prompt Example |
|---|---|---|
| Subject | A dog | A happy Golden Retriever puppy |
| Action | sitting | sitting on a lush green lawn, playfully tilting its head |
| Environment | in a park | surrounded by colorful autumn leaves under a bright blue sky |
| Mood/Lighting | daylight | soft morning sunlight, joyful and heartwarming atmosphere |
| Style | photo | highly detailed photograph, shallow depth of field, bokeh background |
The basic prompt gives you a dog. The advanced prompt gives you a specific moment, full of life and emotion, that tells a story.
Using Negative Prompts for Finer Control
Sometimes, what you don't want in an image is just as important as what you do. This is where negative prompts become your secret weapon.
They are simply instructions that tell the AI what to specifically exclude from the final image, giving you an extra layer of control.
Let's say you're trying to generate a professional headshot, but the AI keeps adding distracting jewelry or putting your subject in a busy office. Inside AI Media Studio, you can just add --no jewelry, blurry background to the negative prompt field. This little trick steers the AI away from unwanted elements, cleaning up your results without ever opening an editing program. It’s an essential tool for refining your vision.
How to Refine and Finalize Your AI Images
So, you've generated your first batch of images. That's a great start, but the real magic happens next. This is where you take a promising concept and turn it into a polished, professional asset that’s ready to impress.
AI Media Studio has a few powerful tools built right in to help with this. Let's say you get an image that's almost perfect. Instead of starting over with a new prompt, try the Variations tool. It’s a lifesaver. It generates a few slightly different takes on your selected image, exploring creative angles without you having to go back to the drawing board.
Upscaling and Exporting for Professional Use
Once you’ve landed on the perfect image, it’s time to get it ready for the real world. A standard-resolution image might look decent on your work screen, but it’ll fall flat as a blog header or a high-quality print. It just won't be sharp enough.
This is where the Upscale feature comes in handy. With just one click, it boosts the image's resolution, adding the detail and clarity needed to make it look crisp and professional. Honestly, learning how to upscale properly is a huge part of figuring out how to generate images with AI that you can actually use for serious projects.
If you want to go deeper on this, we've put together a full guide on how to improve AI image quality.
When you’re ready to download your final creation, you’ll typically have two main file types to choose from:
- JPG: This is your go-to for photorealistic images. It gives you great quality with a much smaller file size, which is a huge plus for keeping your web pages loading quickly.
- PNG: The perfect choice if your image has sharp lines, text, or needs a transparent background—think logos or graphics you want to overlay on something else.
Key Takeaway: Always think about where the image will end up. A crisp, upscaled JPG is ideal for a website hero image. A PNG with a transparent background gives you way more flexibility for graphic design.
This technology is moving incredibly fast. Market research projects the AI image generator market will grow from USD 419.2 million in 2024 to an incredible USD 1.88 billion by 2033. The growth is just staggering.
Common Questions About AI Image Generation
Once you get the hang of generating AI images, some practical questions will inevitably pop up. Moving beyond the basic "how-to" steps means understanding the bigger picture—everything from usage rights to dialing in those perfect, photorealistic results. Let's tackle some of the most common questions we hear.
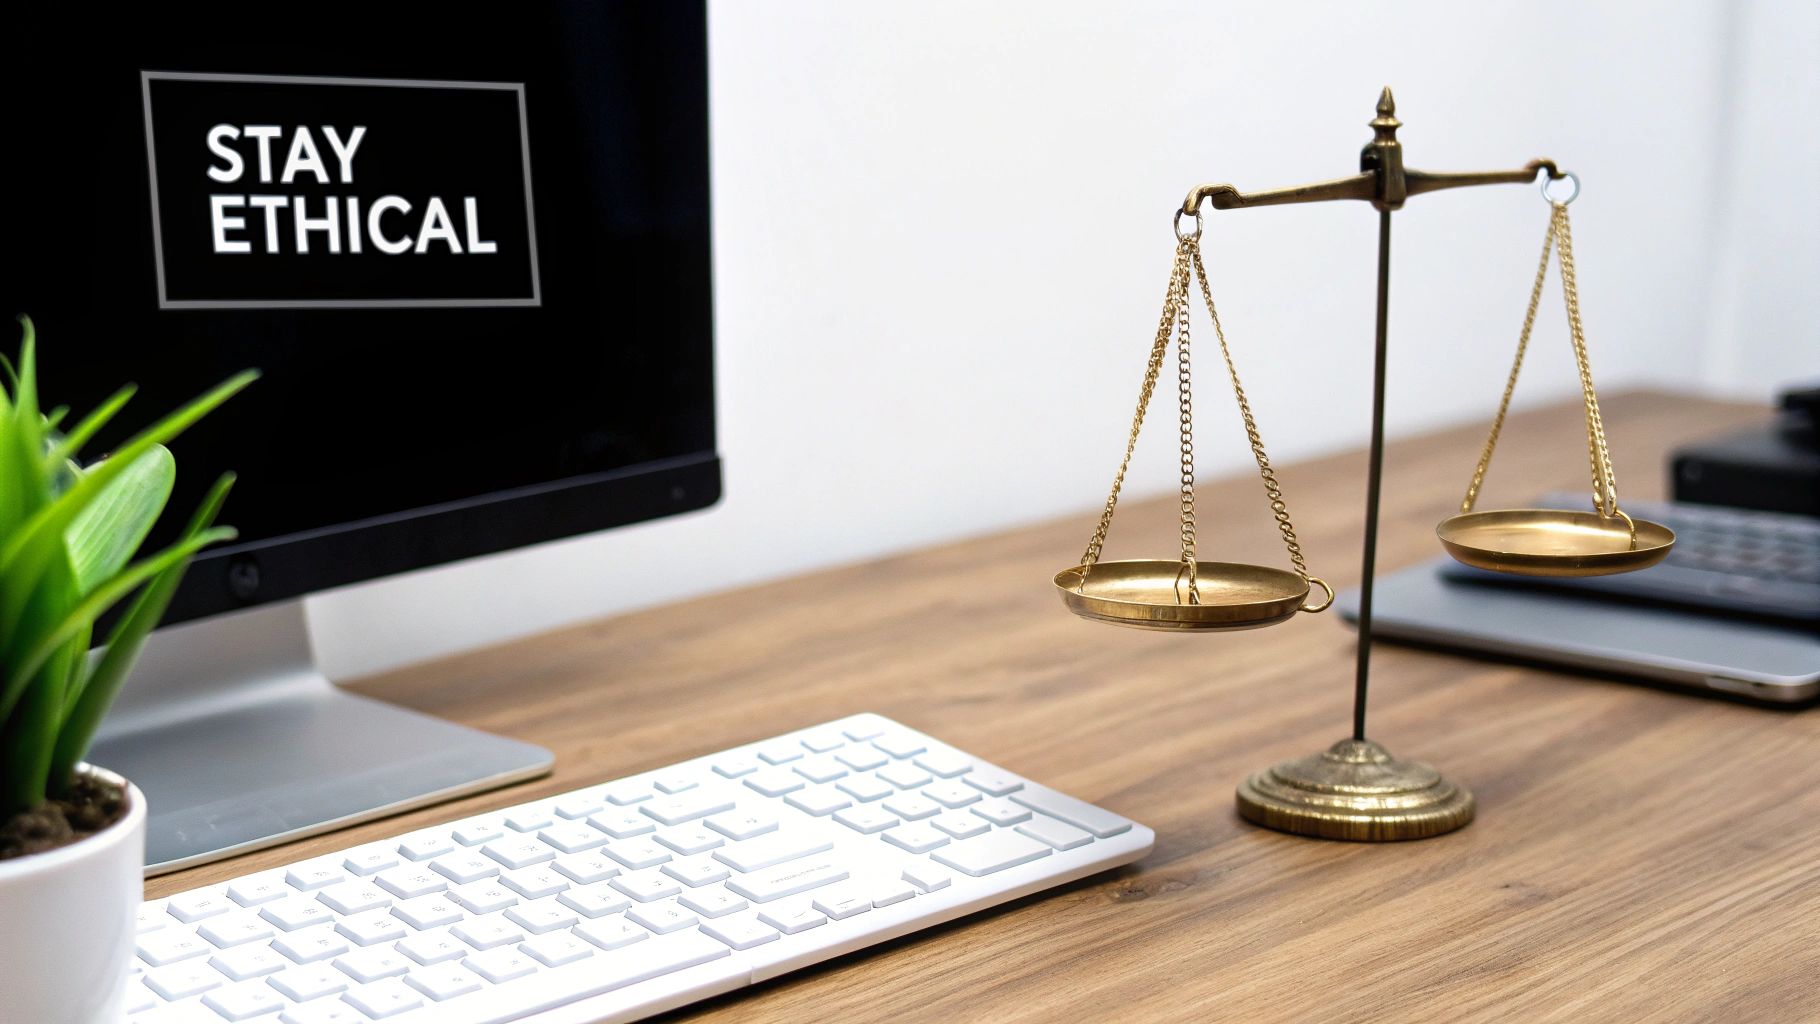
Can I Use My AI-Generated Images for Commercial Projects?
This is a big one, and the short answer is: it depends on the AI tool's terms of service.
Premium platforms, and that includes AI Media Studio, are built for professional use. On our paid plans, you’re typically granted full ownership and commercial rights. This means you can confidently use your creations for marketing campaigns, products, social media, or anything else that drives your business.
It’s always a smart move to read the fine print, though. Some free tools might have restrictions on commercial use. The legal landscape around AI and copyright is also still firming up, so staying informed is the best way to protect yourself.
How Do I Get My AI Images to Look Like Real Photos?
Getting images that look like they were snapped with a real camera requires more than just a good idea—it demands a great prompt. You have to think like a photographer and feed the AI the details it needs.
- Camera & Lens: Get specific. Instead of just "portrait," try "shot on an 85mm portrait lens" or "f/1.4 for a soft, blurred background."
- Lighting: Lighting is everything. Use descriptive terms like "dramatic sidelight from a window" or the classic "golden hour glow."
- Keywords: A few magic words can make all the difference. Add terms like "photorealistic," "hyperdetailed," and "4K" to signal your intent to the AI model.
Most importantly, make sure you select an AI model that was specifically trained on photographic data. This gives you a massive head start.
The biggest mistake beginners make is writing vague, one-word prompts like "castle" and expecting a masterpiece. Don't get discouraged if your first try isn't perfect. AI generation is an iterative process. Keep adding detail, use negative prompts to exclude things you don't want, and create a few variations to land on the perfect image.
Ready to create stunning, high-quality visuals without the hassle? With over 50 art styles and a user-friendly interface, AI Media Studio makes it easy to bring your ideas to life in seconds. Start generating your first three images for free today at ai-media-studio.com.